Storage diagnostic guide
SATA Drive Missing After an M.2 Upgrade: Check Sharing
Published by MASHFiX Computer Repair and Data Recovery ·
An old SATA drive can disappear after an M.2 upgrade because ports share resources. Check the exact board manual before formatting or replacing it.
Leave the missing drive unchanged. Record which M.2 socket was populated and which SATA connector the older drive uses, then check the exact motherboard manual before accepting any erase prompt.
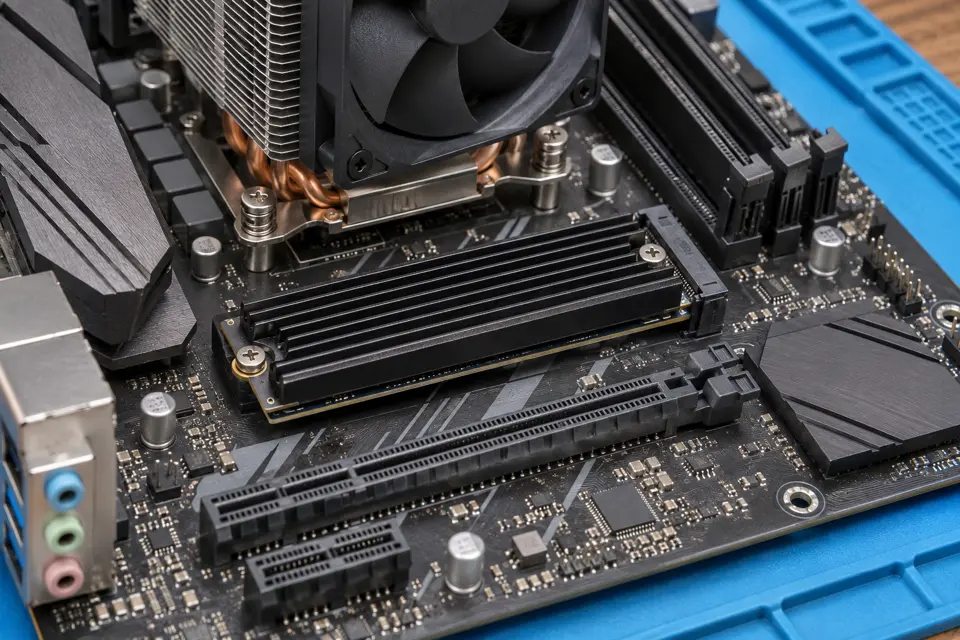
What this symptom can mean
Some motherboards share resources between particular M.2 sockets and SATA ports. Populating a supported combination can disable another connector by design. This is different from a new M.2 drive using an unsupported protocol, and it does not prove the older drive failed. Loose power or data cables and unrelated drive faults remain possible.
The SATA drive vanished immediately after installation
A shared-port rule or disturbed cable is worth checking first. Timing narrows the history but does not identify the cause by itself.
The missing device contains Windows or business files
Stop guessing at boot settings. The machine may depend on files on that drive, and restoring visibility is different from creating a new empty volume.
Safe checks before service
- Write down the motherboard model and hardware revision where available; similar names can have different storage layouts.
- Use the manual’s shared-bandwidth table and connector diagram, not only the marketing count of available ports.
- Record whether the drive is absent in firmware or only in Windows. Avoid changing SATA/RAID modes to experiment.
- If you are unfamiliar with internal cabling, bring the full tower rather than removing and rearranging drives.
Formatting, initializing or rebuilding storage does not repair a disabled connector and can destroy the files you are trying to reach. Do not move members of a RAID or Storage Spaces set independently.
What professional diagnosis should separate
- 01
Map the connections
Mashfix can compare installed devices, exact sockets and documented sharing rules.
- 02
Restore a supported path
A supported connector arrangement can be evaluated along with disturbed cabling and firmware detection.
- 03
Validate the original workload
Once access is restored, check the intended files and startup behavior before treating the upgrade as complete. Unreadable or unstable media needs a data-first assessment.
Bring the before-and-after history
Include the original drive list, the new SSD model and which files should be on each device. If another person performed the upgrade, ask for their connection notes rather than trying several rewiring patterns. A photograph should hide serial numbers and company asset details.
For a DFW desktop upgrade assessment, explain whether the missing drive is a boot source, separate archive or member of a storage set. The recommendation should distinguish a platform limitation from a damaged device. Moving a cable may solve a documented conflict, but that cannot be promised without inspecting the actual configuration.
Keep all original drives until files and boot independence are verified. If a drive makes abnormal noise or repeatedly disappears even on a supported connection, stop routine testing and discuss recovery.
Common questions
Answers before you approve a repair
Does every M.2 installation disable SATA?
No. The rule depends on the board, socket, drive interface and sometimes other installed devices.
Should I buy another SATA drive immediately?
Not before checking the supported connection and detection path. A replacement will not correct a disabled port.
Need help in DFW? Compare the Dallas shop and Fort Worth shop at Suite 100, or review scheduled home and office visits. We confirm the service path, scope and timing before booking.
Product guidance and references
These technical resources explain the referenced behavior. Your device and situation still need their own assessment.